1. Cluster 만들기
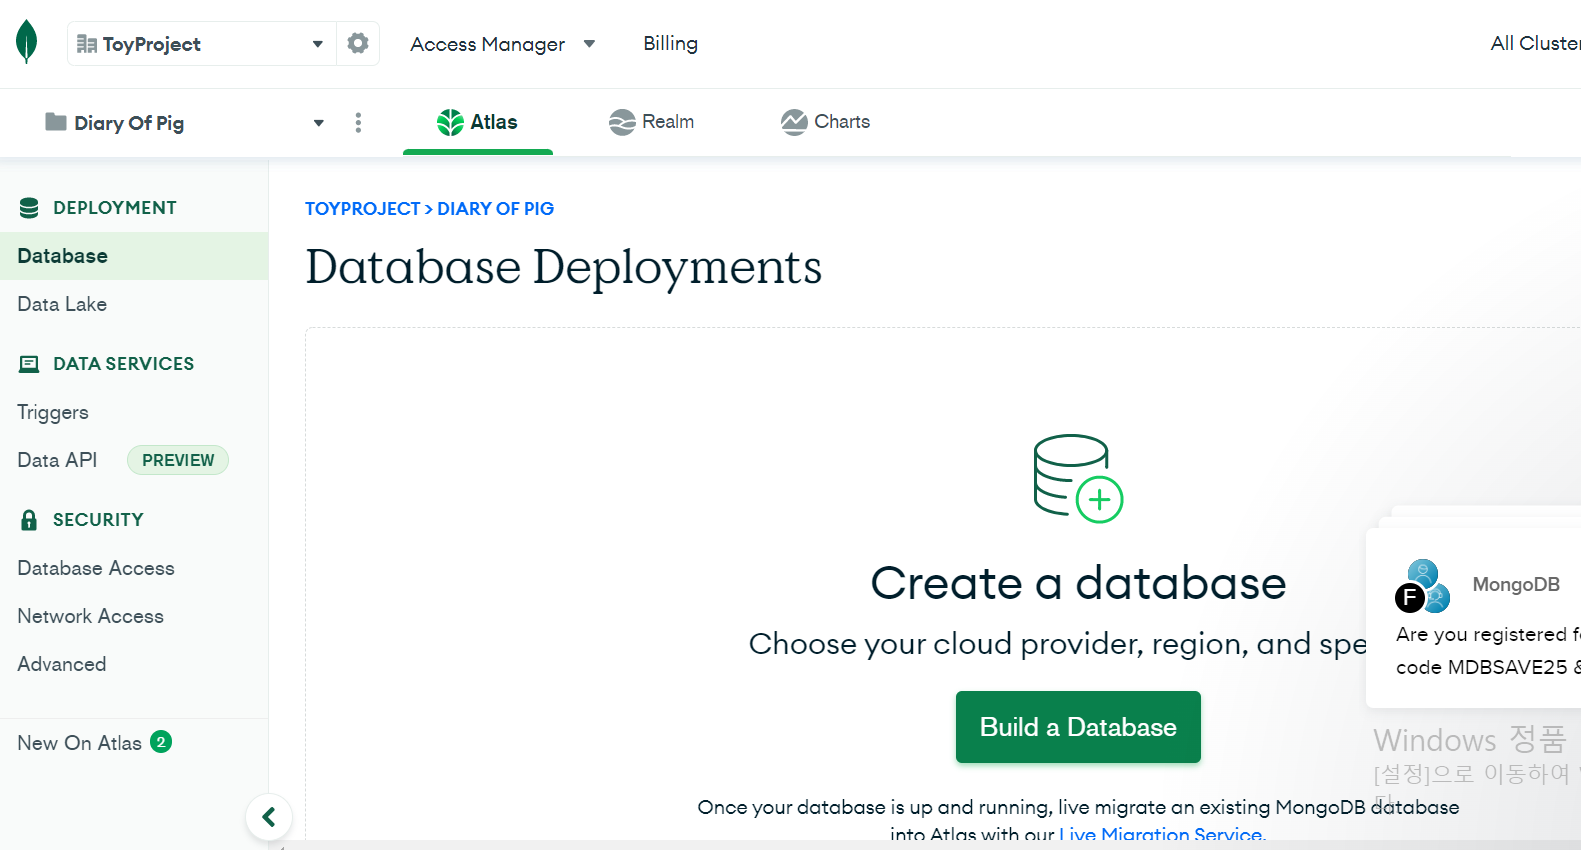
회원가입후 프로젝트를 만들고
Build a Database - 무료버전선택
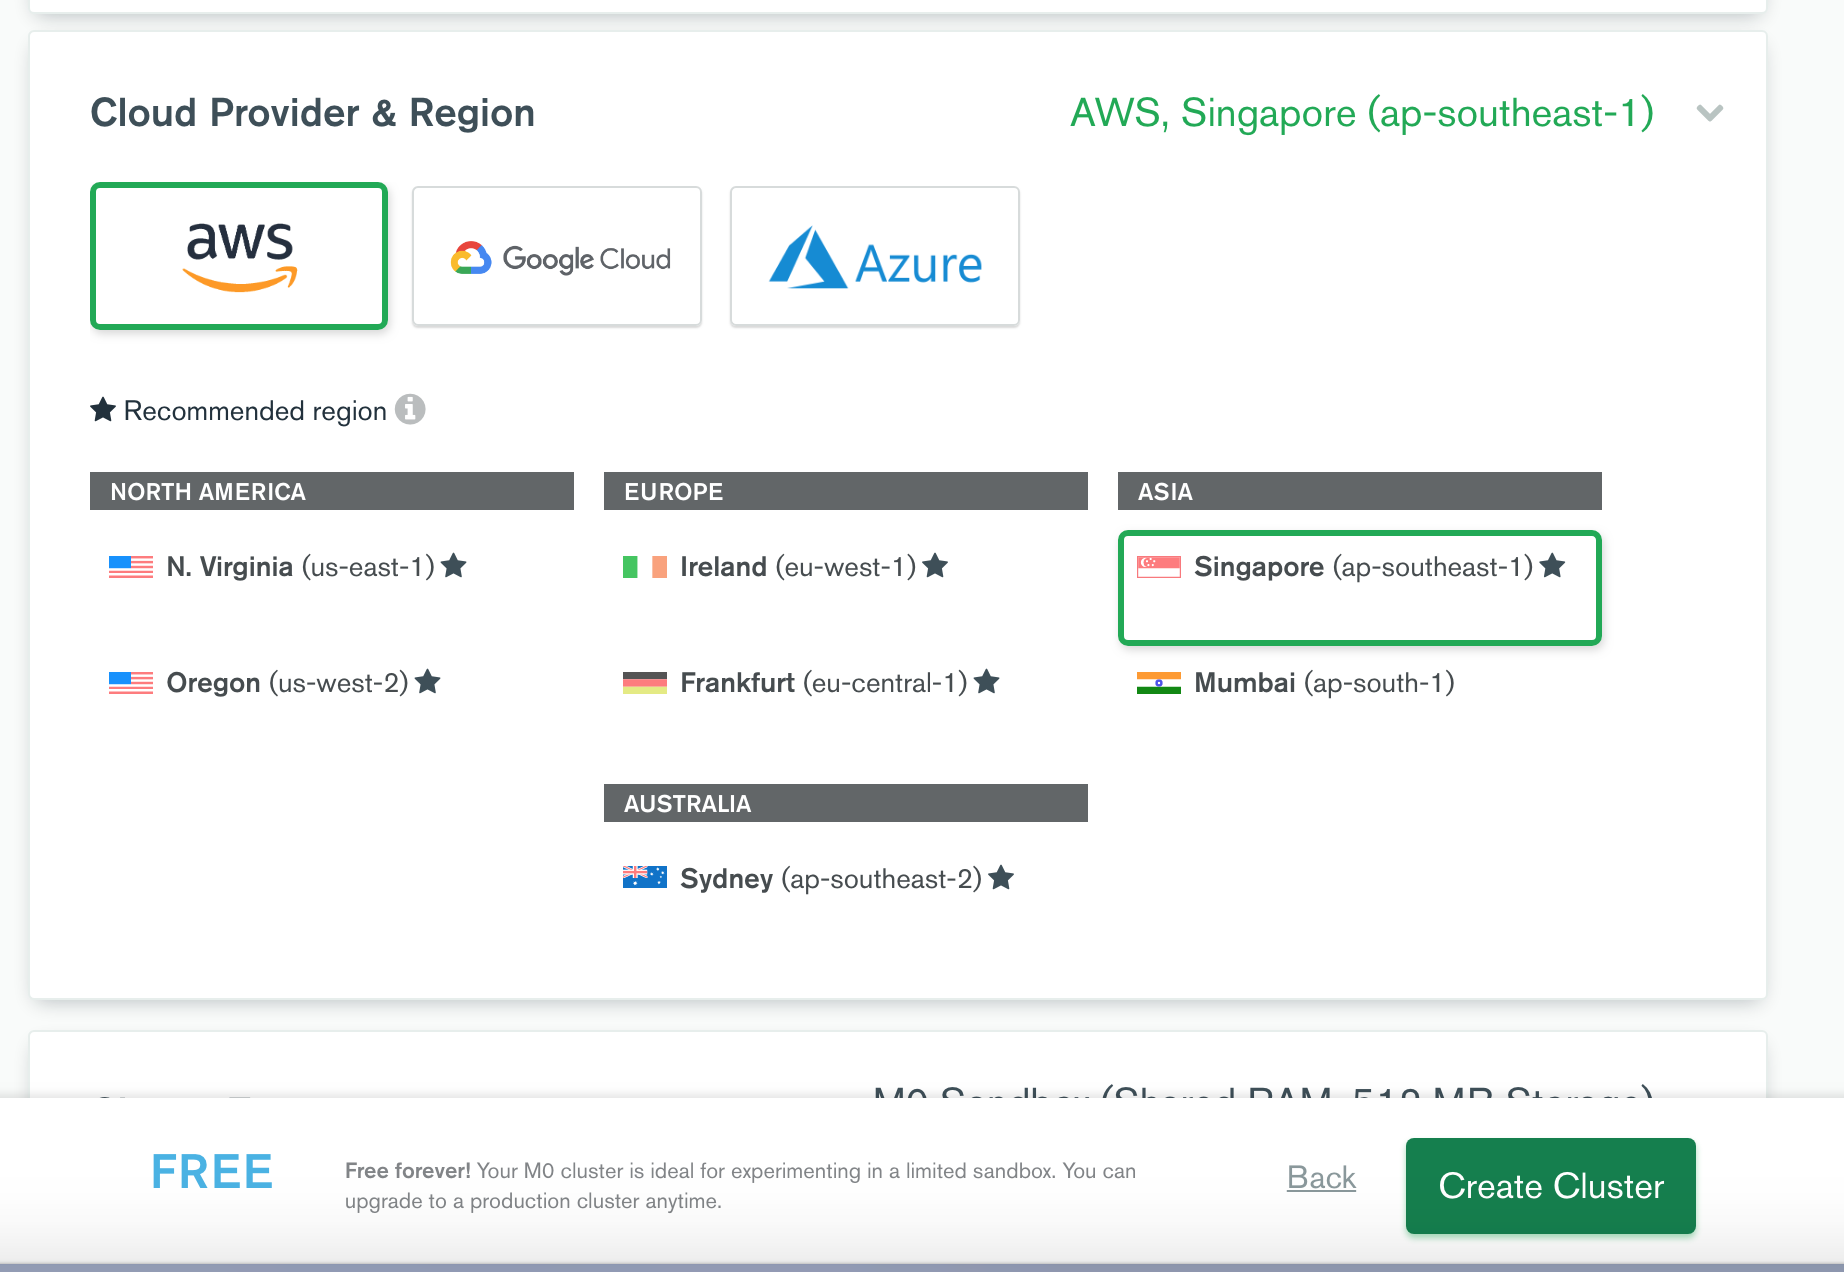
aws로 띄워서 사용할예정이라 이를 선택후 한국과 가까운 싱가포르를 선택후 Create Cluster를 누르면됨
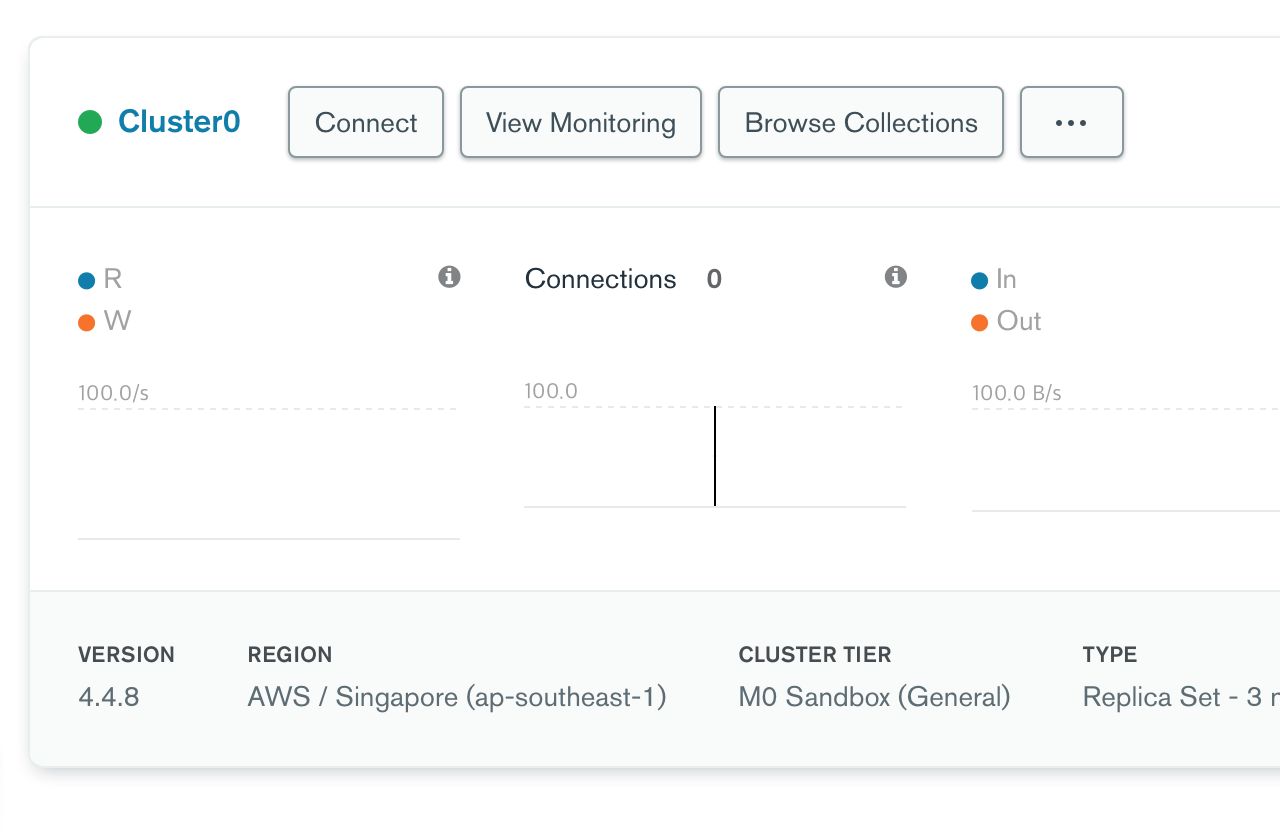
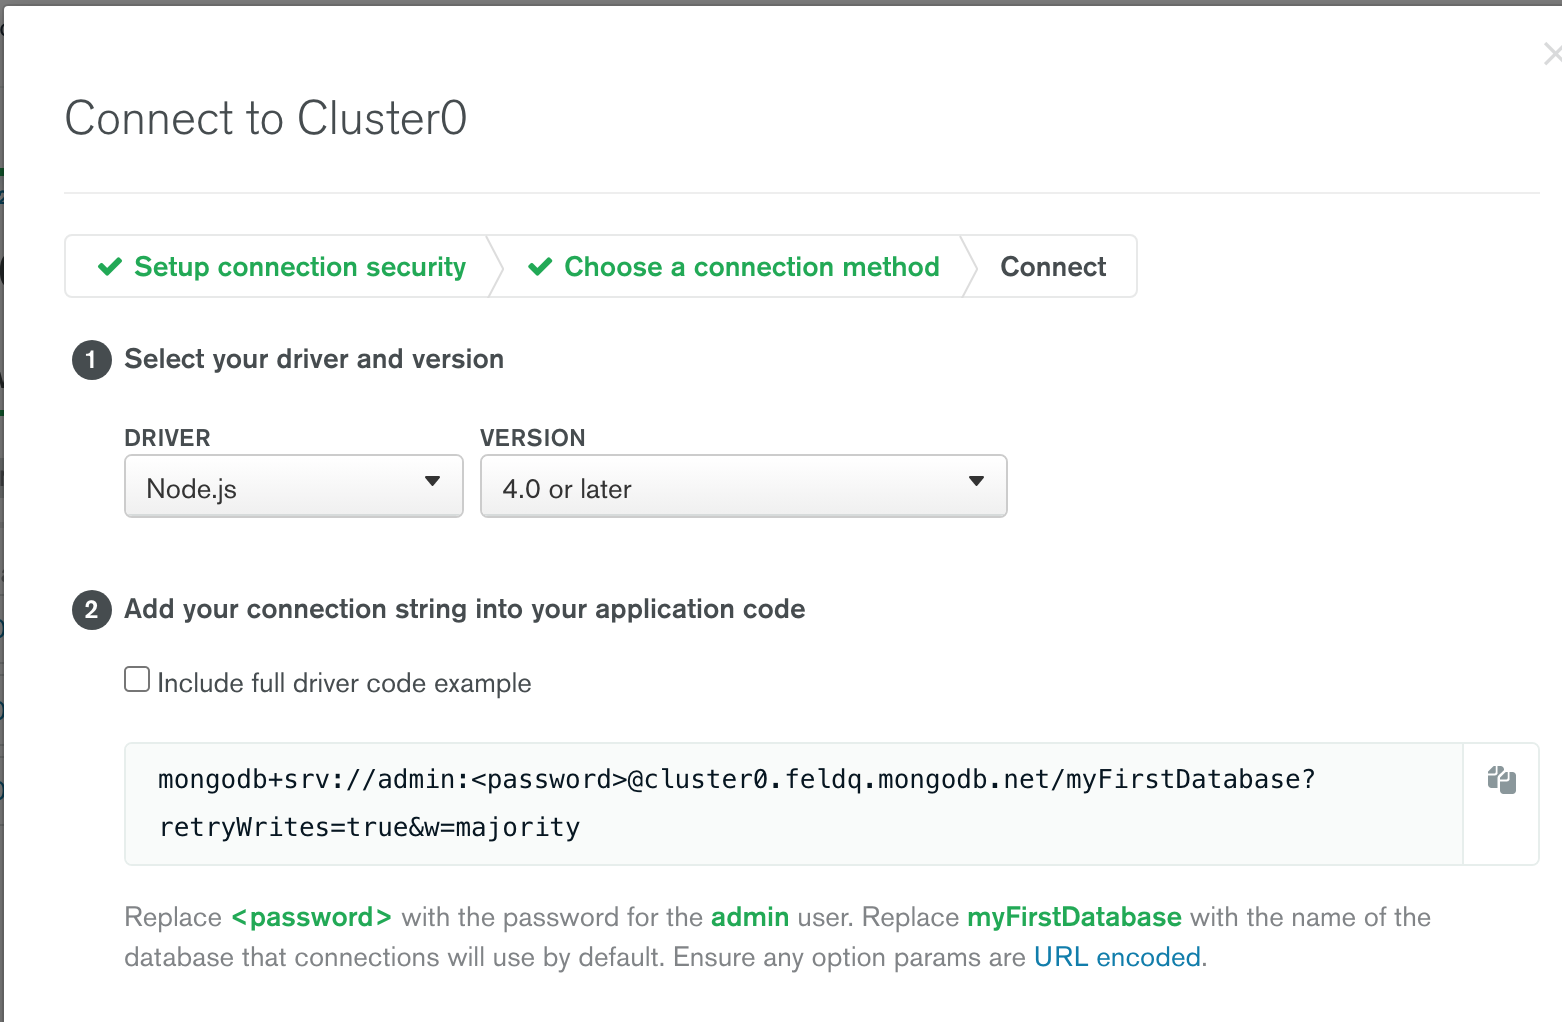
Cluster connect 버튼을 누르면 몇가지 단계를 거쳐야하는데
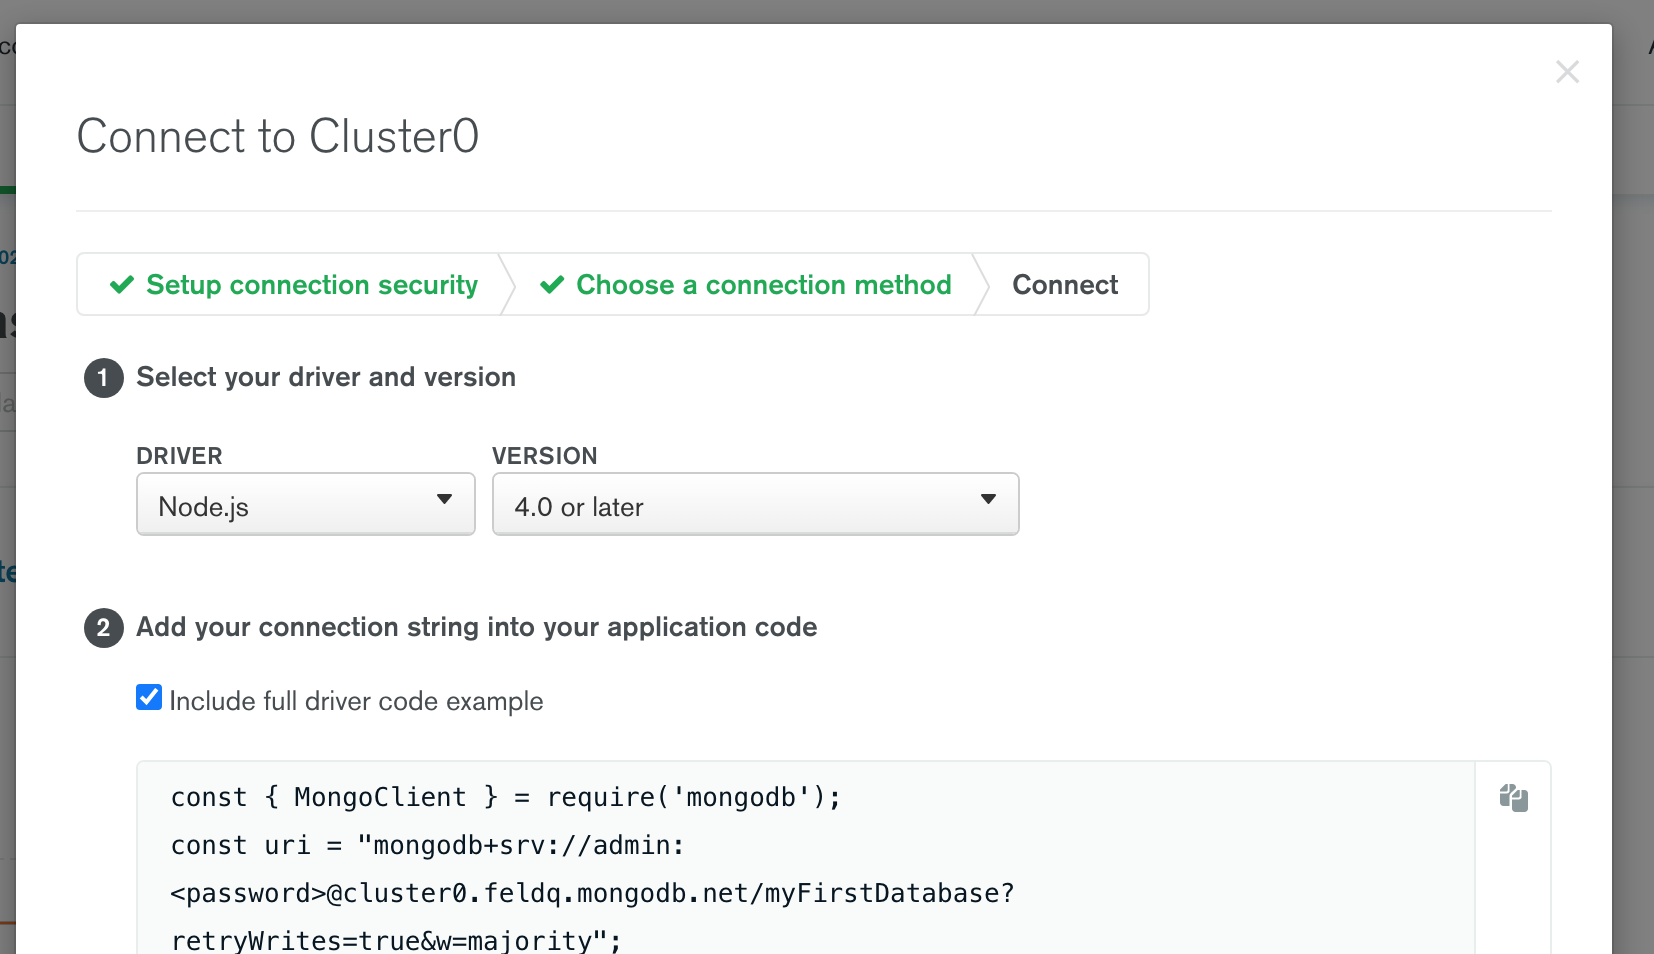
1. ip제한이 있기때문에 현재 IP 주소 등록을 해줘야함
2.데이터베이스에 접속할 유저 정보를 만들어준다.
3.어떤방법으로 접속할지 선택(mongo shell, 어플리케이션으로 직접, GUI(MongoDB compass))
테스트 방법(스킵해도됨)
npm install mongodb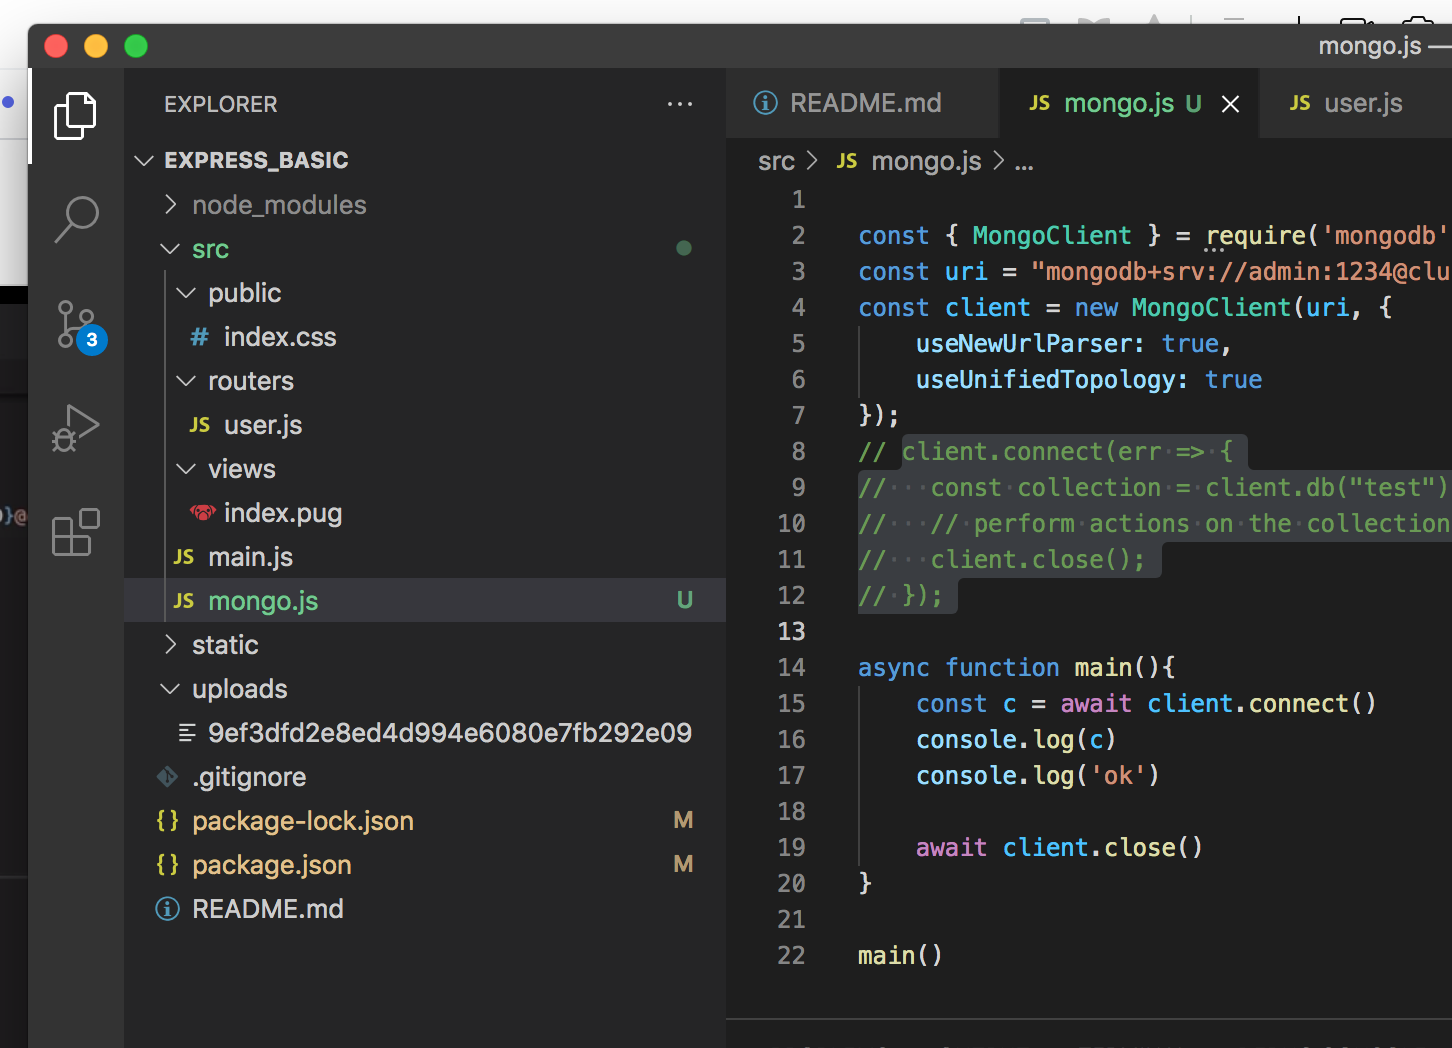
src 폴더에 mongo.js파일을 만든뒤
복사한 코드를 붙인뒤
비밀번호를 입력 후 테스트해봄
async function main(){
    // 클라이언트접속
    await client.connect()

    // 다큐먼트들의 집합인 콜랙션 지정 암꺼나 지정해도됨
    const users = client.db('fc21').collection('users')
    //항상 유저스 콜렉션은 비워진다~
    await users.deleteMany({})
    //테스트로 한번넣어보겠음
    await users.insertMany([
        {
            name:'foo',
        },
        {
            name:'bar',
        },
    ])
    // 가져오기+조건
    const cursor = users.find({})
    await cursor.forEach(console.log)
    await client.close()
}

main()
업데이트
    //업데이트 foo를 fff로해보자
    await users.updateOne(
        {
            name:'foo',
        },
        {
           $set:{
                name:'fff',
            }
        }
    )
주의할것은 항상 await을 붙여줘야한다.
기타 crud심화 내용은 아래 공식 문서를 숙지할것~
https://docs.mongodb.com/drivers/node/current/usage-examples/insertOne/
Insert a Document — Node.js
Docs Home → Node.jsIf you specify a callback method, insertOne() returns nothing. If you do not specify one, this method returns a Promise that resolves to the result object when it completes. See our guide on Promises and Callbacks for more information,
docs.mongodb.com
사용방법 몽구스+compass
npm install mongoose1. compass 다운로드
2. 위의 cluster uri 계정복사
3. server.js
//bring in mongoose
const mongoose = require('mongoose')
// connect to mongoose
mongoose.connect('uri계정:비밀번호+경로')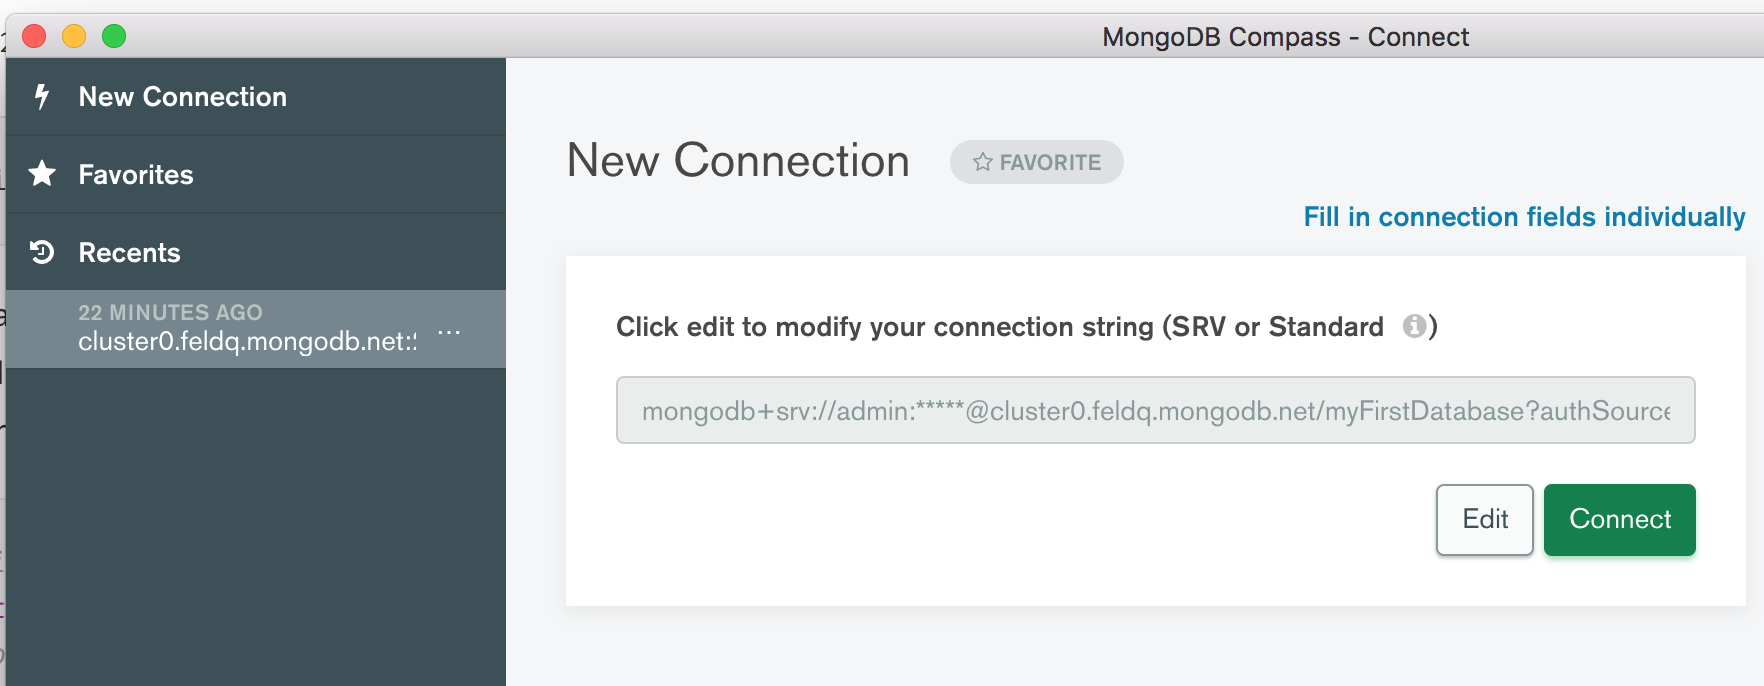
4.스키마설정
const mongoose = require('mongoose')
const blogSchema = new mongoose.Schema({
title:{
type:String,
required: true,
},
author:{
type:String,
required: true,
},
description:{
type:String,
}
})
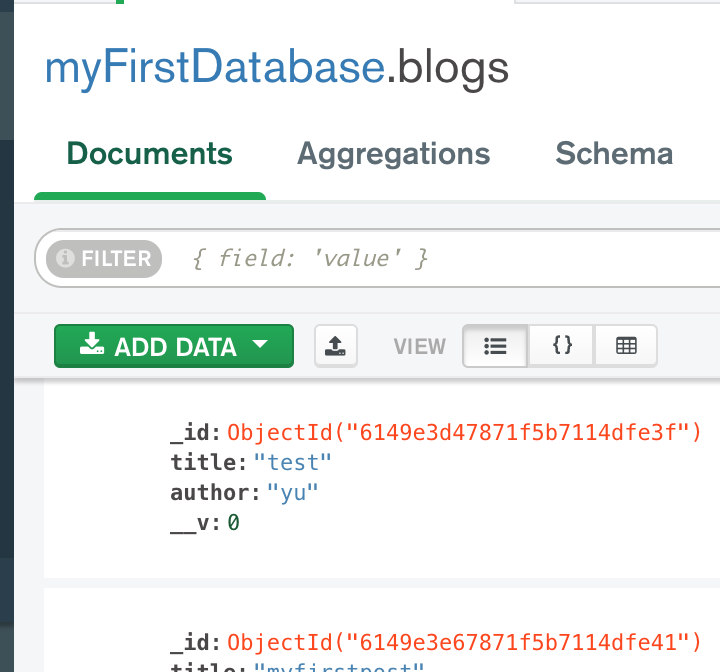
module.exports = mongoose.model('Blog', blogSchema)5. 스키마를 가져와 restfulAPI에 활용
//handle new post
router.post('/', async(req, res)=>{
    // console.log(req.body)//[Object: null prototype] { title: 'test', author: 'yu', desc: 'dddd' }
    let blog = new Blog({
        title:req.body.title,
        author:req.body.author,
        description:req.body.description
    })

    try{
        blog = await blog.save()
        // console.log(blog.id)
        res.redirect(`blogs/${blog.id}`)
    }catch(err){
        console.log(err)
    }
})
'Backend > DataBase' 카테고리의 다른 글
| 서버가 켜져있을때 database 동작이 느릴수있다. (0) | 2022.10.05 |
|---|---|
| [오류/해결] MongoServerError: E11000 duplicate key error collection: (1) | 2022.03.25 |
| mongoDB compass 접속이 안될때(whitelisted) (0) | 2022.01.20 |
| TypeError: Object of type date is not JSON serializable 에러해결 (0) | 2021.11.18 |
| 쿼리 명령어 총정리 (0) | 2021.06.22 |


